

.JPG)
Subscribe To Bay State Kitchen Garden

 Posts
All Comments
Posts
All Comments
Monday, May 5, 2014
'so much depends on a black wheelbarrow'-- hardening off tomatoes
Sorry, I could not resist the paraphrase! My old black wheelbarrow has a flat tire and is cracked and leaky, but works great for holding tomato seedlings I am hardening off-- I just wheel it in and out of the garage morning and night. If the forecast holds and there is no sign of frost in the 10 day weather report I will plant on Wednesday.

Saturday, May 3, 2014
May 2 video tour of the garden
Here's the first video tour of the year:
All the crops are a bit later than last year, but spring is definitely here. I f there are no frosts in the forecast for next week I will plant tomatoes.
All the crops are a bit later than last year, but spring is definitely here. I f there are no frosts in the forecast for next week I will plant tomatoes.
Saturday, April 26, 2014
My big tomato seedlings, and what to do with them
As I feared, my tomato seedlings started in March are big! Here's a pic:

And here's a comparison between Early Pick, started in March, and Sugar Lump, started 3 weeks ago:

The good news is that by using several strategies, including pinching back the main stem to encourage branching, blowing on them with a fan to build strong stems, and feeding with dilute fish fertilizer every two weeks, I am keeping the older seedlings strong and healthy. I don't even need to to stake them yet.
Early next week I will start hardening off my biggest tomato plants by carting them in and out of the garage in a wheelbarrow for steadily increasing daily exposure to wind and sun. There are 3 varieties: Mortgage Lifter, Early Pick, and Rutgers. Around May 5th I will put a few into the garden. I'll either have really early tomatoes or lose them to frost... It will be an interesting experiment.
And here's a comparison between Early Pick, started in March, and Sugar Lump, started 3 weeks ago:
The good news is that by using several strategies, including pinching back the main stem to encourage branching, blowing on them with a fan to build strong stems, and feeding with dilute fish fertilizer every two weeks, I am keeping the older seedlings strong and healthy. I don't even need to to stake them yet.
Early next week I will start hardening off my biggest tomato plants by carting them in and out of the garage in a wheelbarrow for steadily increasing daily exposure to wind and sun. There are 3 varieties: Mortgage Lifter, Early Pick, and Rutgers. Around May 5th I will put a few into the garden. I'll either have really early tomatoes or lose them to frost... It will be an interesting experiment.
Thursday, April 17, 2014
Yukon Gold potatoes and the lasagna bed, first asparagus
I was wandering Walmart's garden center about a month ago (I like to browse the garden department of all the big stores every couple of weeks, generally in search of discounted items) when I saw bags of seed potatoes. It was way too early for our area, but I guess their shipping schedule doesn't acknowledge regional seasonal variations. They were already well sprouted, cheaply priced, and two varieties I don't currently have in my wintered over seed potatoes. I bought a three pound bag each of Red Norland and Yukon Gold.
When I got home I wrapped the bags in newspaper and put them in the right crisper drawer with my other seed pots. Two weeks later I pulled them all out, laid them on baking trays, and put them on top of the bookcases in the upstairs front bedroom to warm up and sprout a bit more.
On April 9th they went into the ground. I built a 'lasagna bed' of cardboard, newspaper and compost last fall, and I was pleased to find the soil was rich and full of earthworms this spring when I dug it over for the potatoes:

Here's a pic of the leggy Yukon Golds that I planted in this bed:

The Red Norland went into a raised bed made of recycled decking material, which held garlic last year. I laid sticks over both beds to keep Sol from sleeping on top of the emerging spuds:

Nearby I discovered the first asparagus of the year-- and they were purple. My green asparagus are not showing much, but the purple ones are a bit more precocious:

I'm glad my asparagus has survived it's second winter here in my garden, despite many very cold days (we were as low as -5) and a bit of snow two nights ago, on April 15th.
When I got home I wrapped the bags in newspaper and put them in the right crisper drawer with my other seed pots. Two weeks later I pulled them all out, laid them on baking trays, and put them on top of the bookcases in the upstairs front bedroom to warm up and sprout a bit more.
On April 9th they went into the ground. I built a 'lasagna bed' of cardboard, newspaper and compost last fall, and I was pleased to find the soil was rich and full of earthworms this spring when I dug it over for the potatoes:
Here's a pic of the leggy Yukon Golds that I planted in this bed:
The Red Norland went into a raised bed made of recycled decking material, which held garlic last year. I laid sticks over both beds to keep Sol from sleeping on top of the emerging spuds:
Nearby I discovered the first asparagus of the year-- and they were purple. My green asparagus are not showing much, but the purple ones are a bit more precocious:
I'm glad my asparagus has survived it's second winter here in my garden, despite many very cold days (we were as low as -5) and a bit of snow two nights ago, on April 15th.
Sunday, April 6, 2014
Lots of seedlings.... too soon?
Last year my first set of tomato and pepper seedlings did poorly due to the off brand potting soil I used.
I did a second planting in early May and ended up with a great harvest despite the setback, but I was frustrated by the extra money and energy I had to expend.
This spring I was determined to do better. I bought premium potting soil and new seeds, a mat for bottom heat, and built new shelving to keep the light bulbs closer to the growing young plants.
But I didn't adjust my seed starting schedule to the late spring we've had, and now I have too many big tomato seedlings too soon. They have already been replanted into individual pots (deeper to get more root growth along the buried stem), and they continue to grow apace-- well, actually at too much of a pace!
Here's a pic (yes, there are some Moonflowers too):

So now the challenge is to keep them happy until the last frost, about a month away. I'm going to pinch the leader back on a few seedings to see if I can encourage branching, and I will also start to keep them at cooler temperatures. Finally, I will build a cold frame for them in the garden that will be insulated enough to take some of the bigger plants out for hardening off quite early, by the end of next week. Just in case I lose some I did start a few more seeds this week. Maybe next year I'll finally get the timing just right.
I did a second planting in early May and ended up with a great harvest despite the setback, but I was frustrated by the extra money and energy I had to expend.
This spring I was determined to do better. I bought premium potting soil and new seeds, a mat for bottom heat, and built new shelving to keep the light bulbs closer to the growing young plants.
But I didn't adjust my seed starting schedule to the late spring we've had, and now I have too many big tomato seedlings too soon. They have already been replanted into individual pots (deeper to get more root growth along the buried stem), and they continue to grow apace-- well, actually at too much of a pace!
Here's a pic (yes, there are some Moonflowers too):
So now the challenge is to keep them happy until the last frost, about a month away. I'm going to pinch the leader back on a few seedings to see if I can encourage branching, and I will also start to keep them at cooler temperatures. Finally, I will build a cold frame for them in the garden that will be insulated enough to take some of the bigger plants out for hardening off quite early, by the end of next week. Just in case I lose some I did start a few more seeds this week. Maybe next year I'll finally get the timing just right.
Monday, March 24, 2014
Seven signs of spring, in pictures and video
It's been a cold first week of spring, and we still have another snowstorm to get through in the next two days. So I've searched for and found some cheerful signs of spring in my garden:
Four cold frames seeded with hardy spring greens:

Candy onions planted last week:

Snowdrops!

Garlic growing already:

Fiddleheads forming:

Rhubarb:

And Sol dancing and zooming like a puppy (he's 12):
Sunday, March 9, 2014
Daylight savings and planting spinach
There's still snow in the vegetable garden, but I was stubbornly determined to plant my first crop of 2014 today, the first day of daylight savings. I got home from work, changed into work clothes, and headed into the garden.
It was a sad sight-- full of debris and snow:

But there were a few clear beds, including the one I had in mind for building my cold frame.
I quickly laid several rows of cinder blocks inside the bed, then lifted the recycled window section of an old door across the top to check the fit. It was fine for spinach-- not a tight seal, but enough to raise the temperature inside a few degrees. That's all I want or need for spinach.


That's it- my first crop planted! Now I will monitor it every day, keeping the soil moist, and not too hot. I hope to have spinach sprouting by April 1.
It was a sad sight-- full of debris and snow:
But there were a few clear beds, including the one I had in mind for building my cold frame.
I quickly laid several rows of cinder blocks inside the bed, then lifted the recycled window section of an old door across the top to check the fit. It was fine for spinach-- not a tight seal, but enough to raise the temperature inside a few degrees. That's all I want or need for spinach.
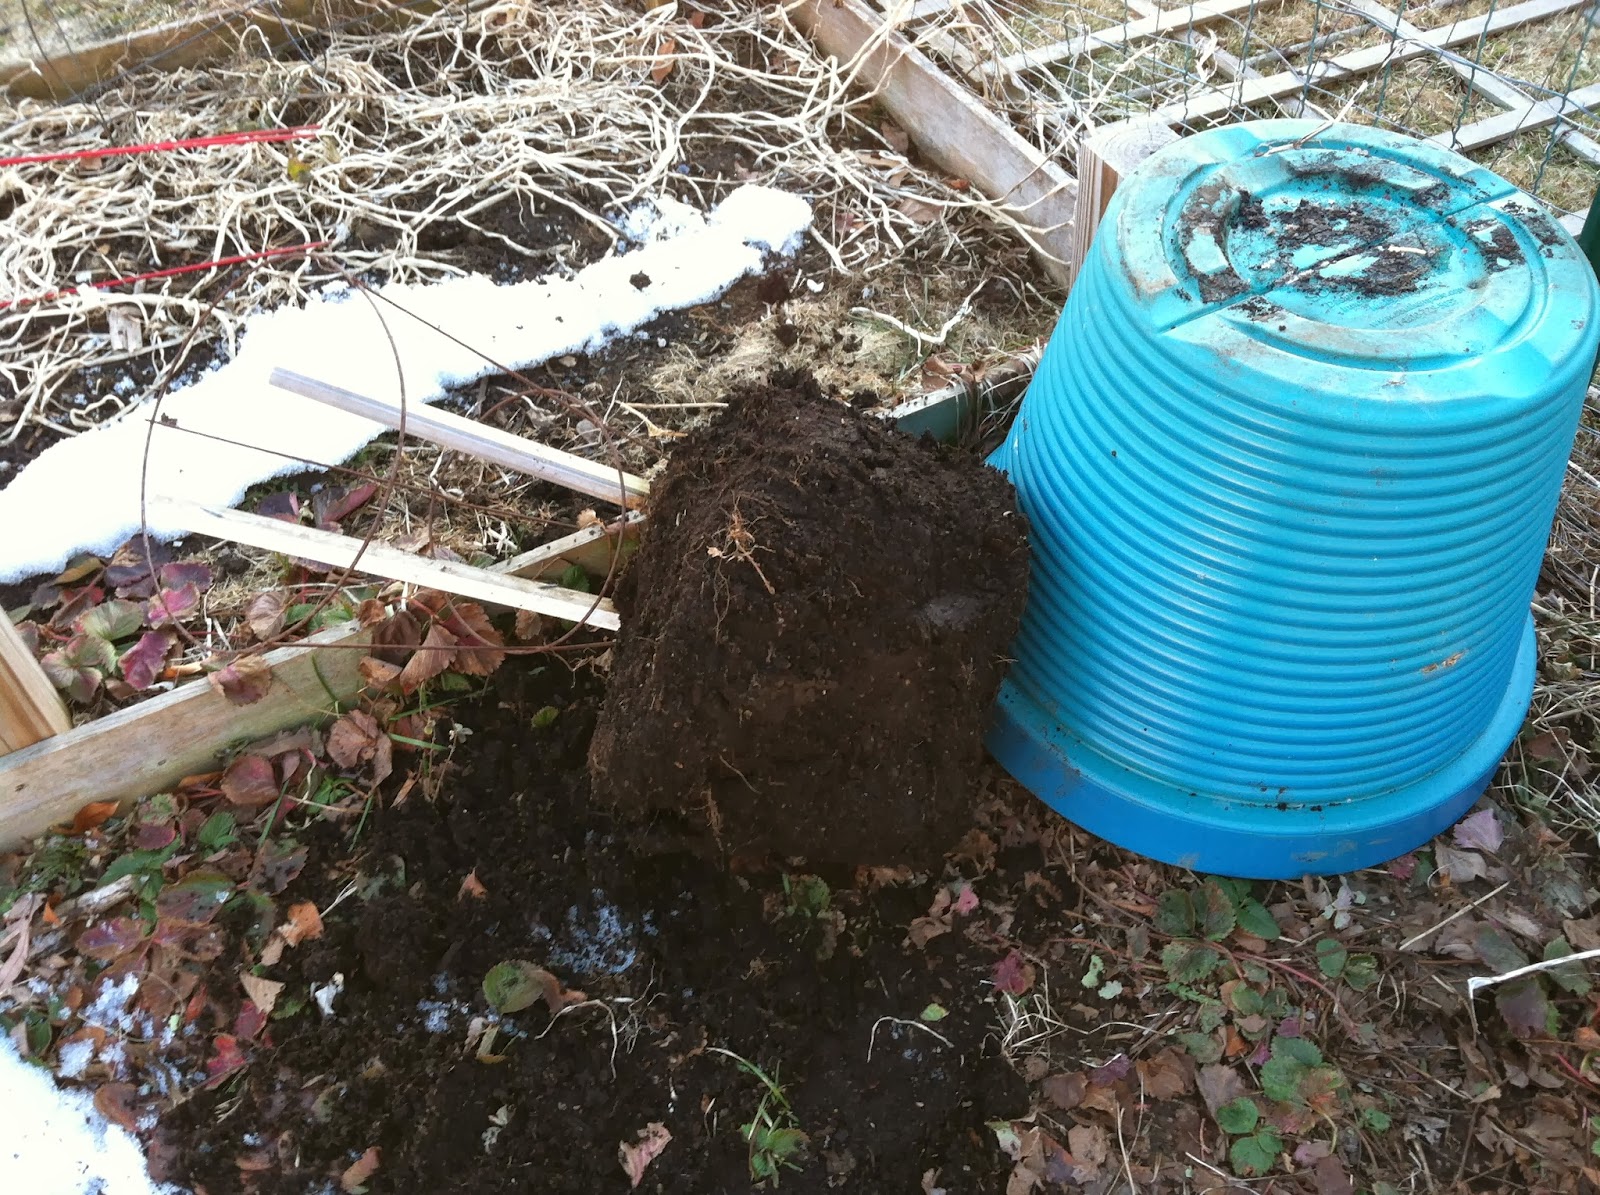
I took the cover off and propped it up beside the bed while I prepped the soil. I mixed up a couple of handfuls of 10-10-10 fertilizer with about an equal amount of lime (spinach likes a slightly more alkaline soil), then scraped some of last years potting soil off the soil-sicles I popped out of two adjacent planters:
I mixed all of this material into the soil in the bottom of the cold frame. The soil was frozen a couple of inches down, but I was able to make four furrows, then plant my spinach and tamp down the soil. There was no need to water, since the soil was already moist, and more water will be released as it thaws under the glass.
Finally I spread a light layer of straw over the top, then re-covered:
That's it- my first crop planted! Now I will monitor it every day, keeping the soil moist, and not too hot. I hope to have spinach sprouting by April 1.
Subscribe to:
Posts (Atom)